SOCIAL MEDIA

Getaway Quilt Mountain Trip Version by Lo & Behold Stitchery

Saturday, July 5, 2025

I recently made the Getaway Quilt by Lo & Behold Stitchery as a housewarming gift, and chose the mountain trip version.

I'm tempted to make one for myself too, but also . . . how many quilts do I need for myself??


Size:

Throw size (53" x 71") in the mountain trip version

Fabric:


Notes:

  • My seam matching between blocks was not the most precise, which bugs me a little, so that's a skill to keep working on for me!
  • The pattern results in some leftover half blocks, for which there are instructions to make a little bonus project. I haven't decided what to do with it yet . . . perhaps a tote bag or pillow cover?

Scrappy Corners Quilt by Quilty Love

Saturday, June 28, 2025

Last year, I made the Scrappy Corners quilt by Quilty Love as a baby gift. I used shades of purple since those were the nursery colors. 


Size:

Large throw size (60" x 72")

Fabric:

  • Quilting cottons in various colors from Joann
  • Dot minky backing from Joann
  • Art Gallery Fabrics quilting cotton for the binding from Mad B's Quilt and Sew

Notes:

Ridges Quilt by Bookends Quilting

Saturday, June 21, 2025

I had my eye on this Ridges Quilt pattern by Bookends Quilting when it was released, and I made it last year as a baby gift for a friend whose nursery theme included a mountain range mural in shades of green.

Ridges Quilt by Bookends Quilting


Size:

Throw size (60" x 72")

Fabric:

  • Quilting cottons in various colors from Joann
  • Dot minky backing from Joann

Notes:

  • The quilt turned out well overall (save for a few places where if you look closely, the points don't match up the best) and I learned how to do half-rectangle triangles for the first time. 
  • I had the long-arm quilting done at Mad B's Quilt and Sew, and picked out a topography pattern and used bamboo batting.

Color Theory Herringbone Quilt

Saturday, June 14, 2025

I've had this herringbone quilt completed for probably a couple years, but similar to the denim Church Window quilt, I worked on it on and off for several years. 


Size:

Roughly throw size

Fabric:

  • Charm packs of V & Co Color Theory fabric
  • Gray ombre stripe fabric from V & Co Color Me Happy line
  • White fabric from Joann
  • Minky backing from a now-closed local shop

Notes:

  • I had the long-arm quilting done at Mad B's Quilt and Sew, and went with bamboo batting.
  • The quilt is made up of half-square triangles, so I didn't follow a purchased pattern and largely researched on Pinterest. 
  • I think I sewed the binding on a little too tight, so the quilt doesn’t hang completely flat.

Denim Church Window Quilt by Lo & Behold Stitchery

Saturday, June 7, 2025

This bed size denim Church window quilt by Lo & Behold Stitchery is the biggest quilt I've made so far!

The story behind this quilt is that for years, every time a pair of jeans got worn out (mostly my husband's, and to a lesser extent, my son's), we'd add it to a pile, and my husband's ask was for a denim quilt. He was envisioning a more simple quilt, and yet, I'm extra. So I chose a more involved (and in my opinion, dramatic) pattern. Although it took me probably 4 or 5 years of working on the quilt on and off, I finally finished and we used the quilt on our bed this past winter.

I started making this quilt when we had a queen size bed and we've since changed to a king size. Had I known that when I started the quilt, I might have added another column to the quilt, since right now, it is the exact width of a king size bed. Regardless, I'm pleased with how it turned out!


Size:

Bed (83" x 86")

Fabric:


Notes:

  • I had the long-arm quilting done at Mad B's Quilt and Sew, and went with a woodgrain pattern that they recommended, as well as bamboo batting.
  • Since some of the denim was stretch denim, I starched every piece of denim before cutting out the pieces for the top. It was a lot of work, but I think it helped the long-arm quilting process because the lady who did the quilting came out when I picked up the quilt and commented that it quilted nicely though stretch denim was involved.

Cars Quilt

Saturday, May 31, 2025

Some years ago, I bought a Cars panel and coordinating fabric at a local quilt shop (which has since closed, sad face) to make a themed quilt for my son. I also got some additional coordinating Cars fabric on Etsy to have enough for a quilt. 

When I finally finished making it about five years ago, I was a little afraid that since it took me so long, he outgrew the theme, but he still seemed to like it and used the quilt regularly for a time. He's 10 now and his tastes have changed, but I still wanted to post this for documenting my finished makes!


Size:

Roughly throw size

Fabric:

Top and binding - quilting cotton
Batting - anti-pill fleece
Backing - minky

Notes:

  • I went for a pretty simple design - all squares around the panel.
  • I did somehow miscalculate the space around the panel, so I had to fill in some gaps with a solid cotton.
  • I also did stitch-in-the-ditch quilting and did machine binding.

Orla Dress by French Navy

Friday, May 5, 2023

As a Ruby Star Maker, I recently received fabric from the new Verbena line by Jen Hewett for Ruby Star Society, which I decided to make into an Orla dress by French Navy (free pattern!).

(See more photos at the end of the post.)

Size / View:

XS at the neck graded to S at the bust graded to M at the waist.

For reference, my measurements are:
  • Bust: 34.5"
  • High Bust: 32.5"
  • Waist: 29"
  • Hip: 37.5"
  • Height: 5' 0"

Fabric:

Ruby Star Society fabric from the Verbena line by Jen Hewett.

Adjustments / Construction:

  • Instead of doing a bodice muslin straight away, I tried to make adjustments based off my traced pattern, then made a muslin. This didn't actually work as well as I thought, and I ended up doing 2 bodice muslins with incremental adjustments and several re-traced patterns after adjustments (5 versions in all). So next time, I'd probably start with a muslin right off the bat like I have in the past.
  • After all the adjustments I tried, I ended up keeping the same darts as before, except on the front darts, lowering the point by 1-5/8".
  • Since the instructions were not illustrated step-by-step, I went looking for a sew-along to help me visually follow each step, and found this YouTube video helpful: How to Sew a Zipper Back Dress (using French Navy - Orla dress)
  • I wanted to take off the sleeves, but I didn't want to necessarily end up with a sleeveless dress, so I landed on a ruffle sleeve and found this free ruffle sleeve hack and pattern: Gaïa – Ruffled shoulders.
  • I also researched hacks that others made to the Orla dress, and referenced this blog post to remove the sleeves from the pattern: Another Sleeveless Orla - Drafting Tutorial.
  • Shortened straps 0.75", and also lowered the bottom of the arm hole by 0.75" as well to keep the size of the arm hole the same.
  • Took out 0.25" from the center back at the neckline (basically cut away a wedge).
  • Used S for the gathered skirt pieces and shortened 2" since the pattern was drafted for a height of 5' 7".
  • Added in-seam pockets anchored at the waist, and followed a tutorial from Megan Nielsen Patterns (Olive Sewalong // Pockets and Skirt) using a pocket pattern from Cashmerette (Pocket Time! Add Pockets to the Cashmerette Turner Dress).

Likes:

  • Semi-fitted bodice (after I got the right dart adjustments figured out, to the best of my knowledge).
  • I could see this being one of those tried-and-true basic dresses that is very hackable.

Next Time:

  • Take out 0.25" from the center front at the neckline.
  • Try a rayon, which has more drape than cotton.
  • Add more ease to the arm hole in the back. It's a little tight, though still wearable. Possibly a softer fabric (like rayon) would help with this too.

Holmen Top by Uncut Project

Monday, January 23, 2023

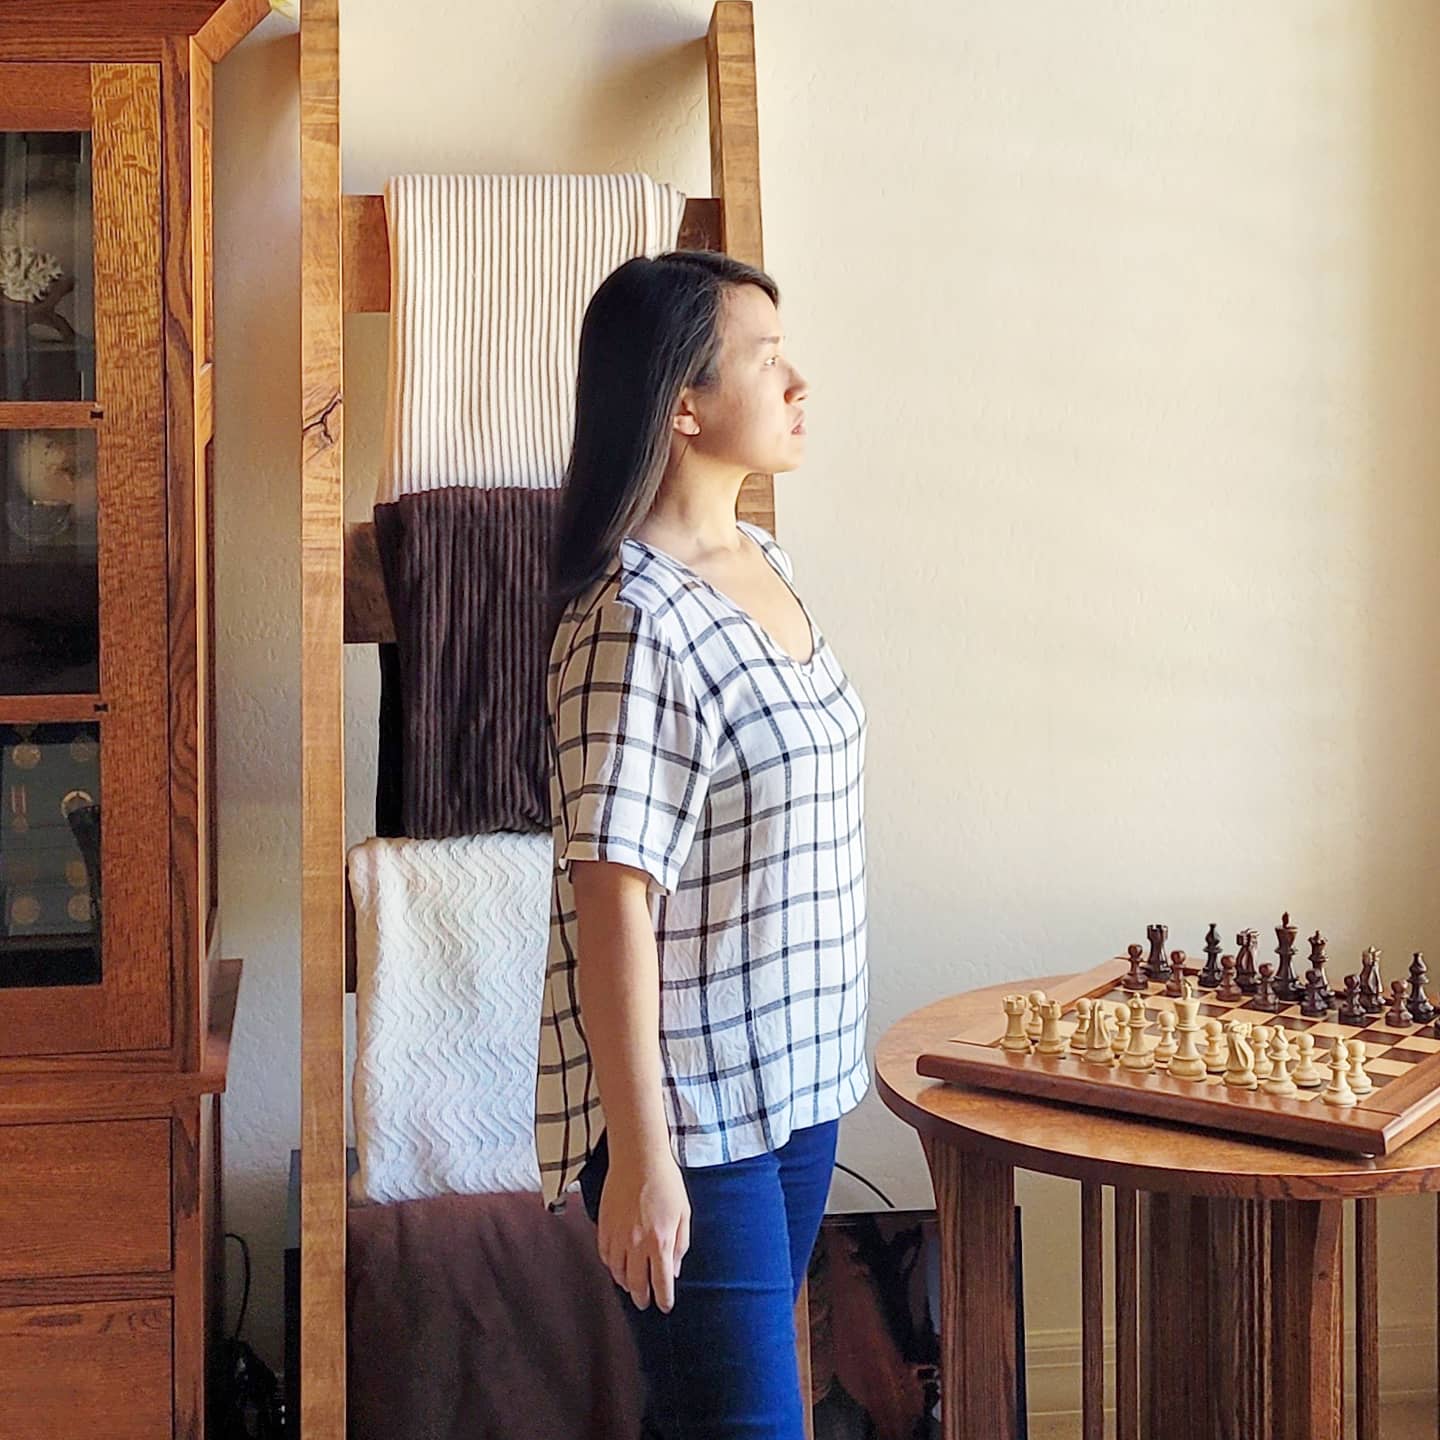
I tested the Holmen top by The Uncut Project before it was released last year, and here is my finished version! 


(See more photos at the end of the post.)

Size / View:

Due to the fitted bodice, I went off my bust measurement of 34.5" and sewed a straight size 38/M top version.

For reference, my measurements are:
  • Bust: 34.5"
  • Waist: 29"
  • Hip: 37.5"
  • Height: 5' 0"

Fabric:

I used a crinkly rayon from LA Finch Fabrics.

Adjustments / Construction:

  • Shortened the shoulder straps by 6".
  • For the back, instead of a 13" gather between the notches, I did 9.5" so that the back didn't scoop so low. For the top, I didn't want the scoop so low that the waist of my jeans could show. For a dress, I'd consider keeping the original length of gathering.
  • I did a minor adjustment to the hem, but this was more a matter of preference than fit. For the main fabric, I only did 0.25" folded over twice, and for the lining, I did 0.5" folded over twice.

Likes:

  • This is a cute top all around!

Next Time:

  • Since the back ties are adjustable, it makes the sizing a little flexible - I might try to size down to a 36/S.
  • Try the dress version!
  • This pattern is fully lined, so it could be made into a reversible top or dress. The changes I would make in this case would be to top stitch (instead of understitch) through both the main and lining fabrics of the fitted bodice and possibly sew both the main and lining fabrics together at the hem so that they are the same length
  • Figure out a sewn-in bra situation (although I plan to wear the tester version without a bra . . . how old is too old to keep doing that?!)

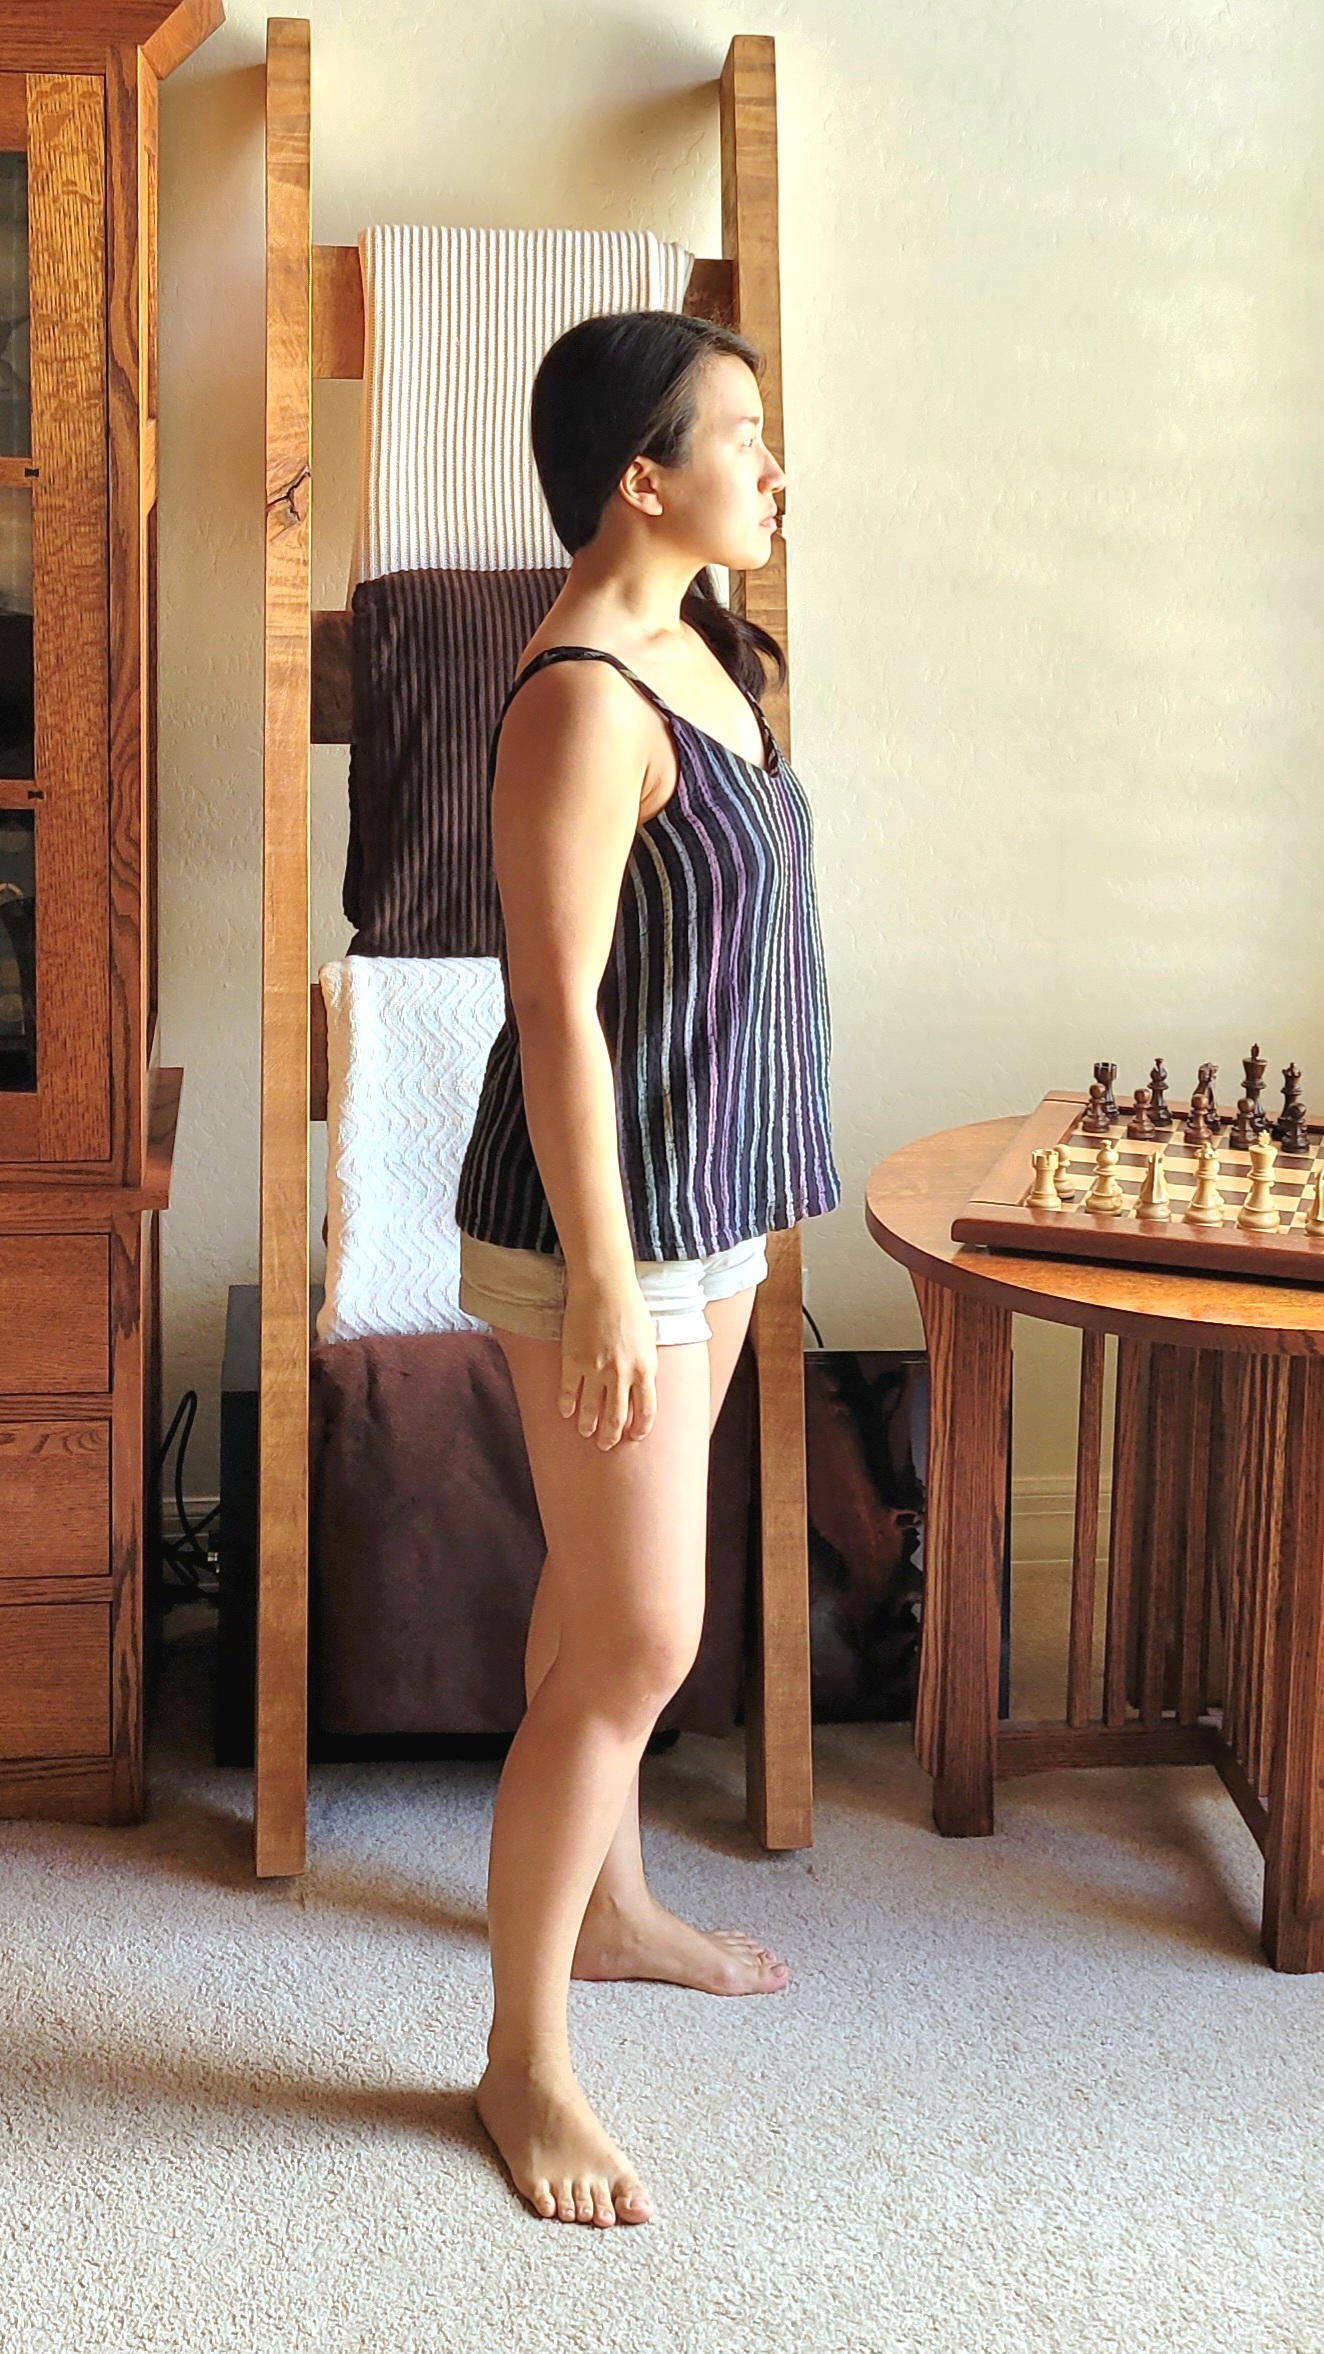
Rainbow Gauze Ogden Cami by True Bias

Monday, January 16, 2023

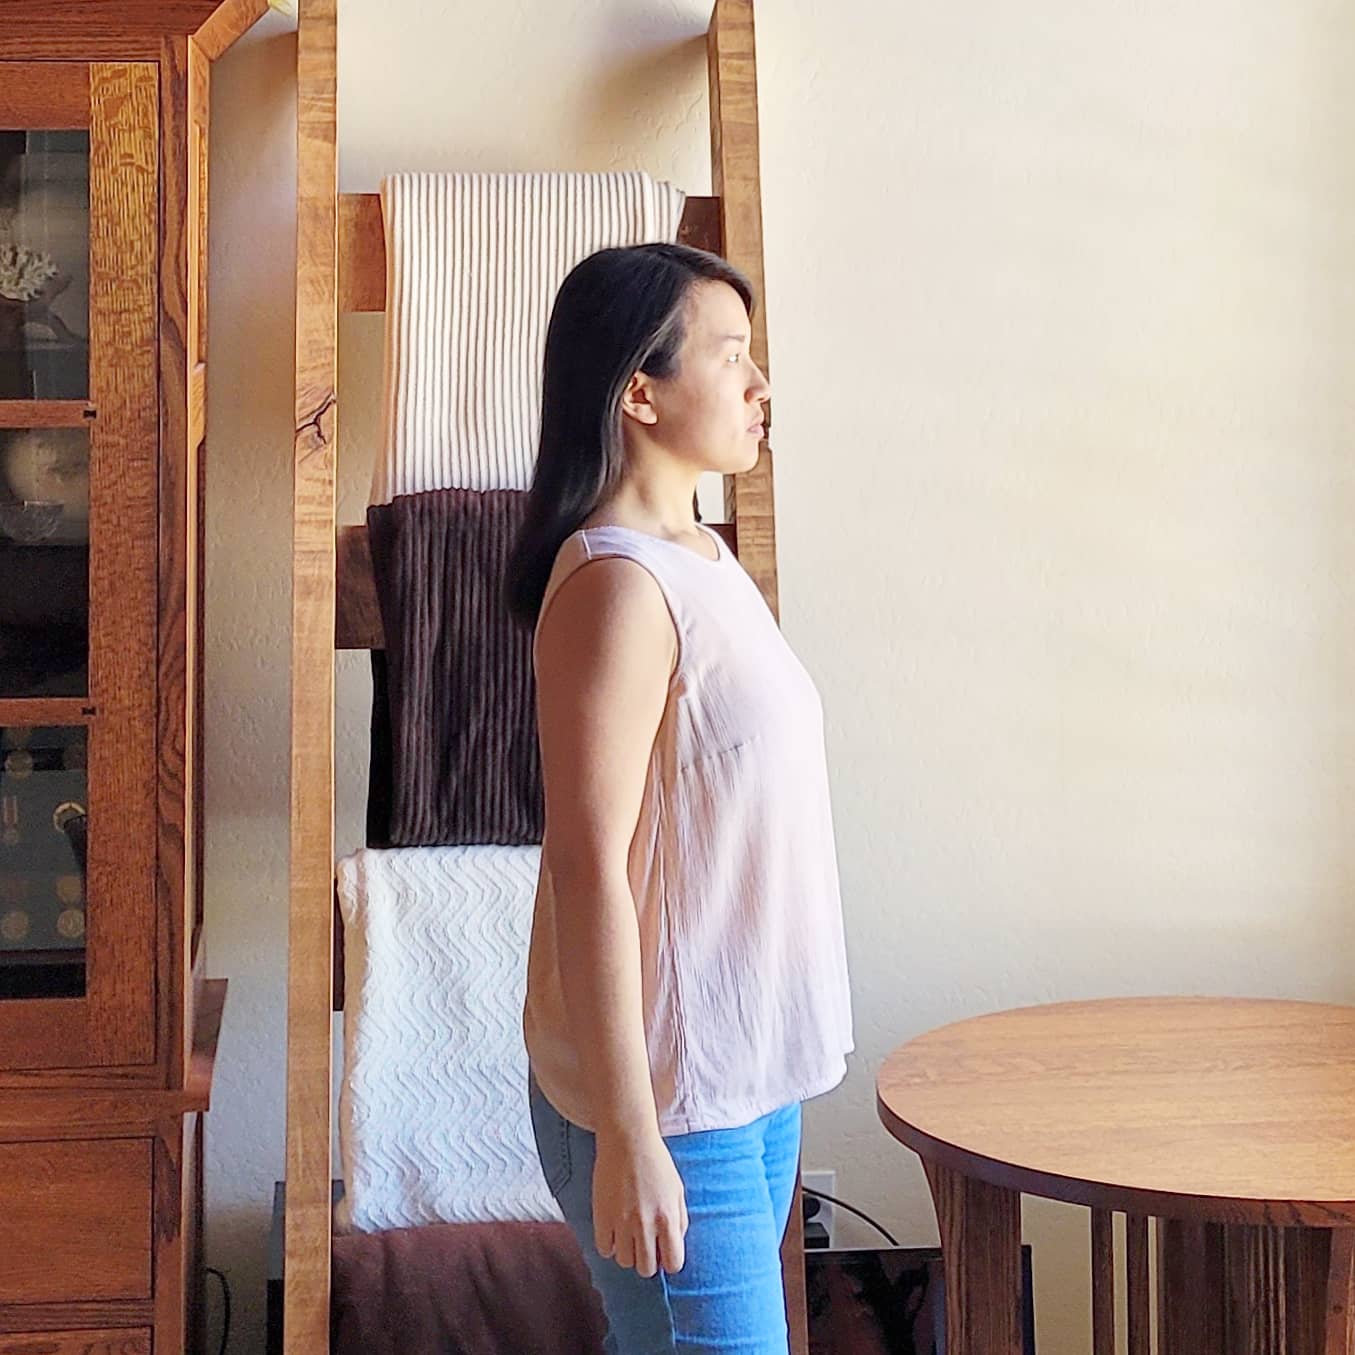
This was my second Ogden cami by True Bias, made with leftover black and rainbow double gauze from Joann.

(See more photos at the end of the post.)

Size / View:

Size 2.

For reference, my measurements are:
  • Bust: 34.5"
  • High Bust: 32.5"
  • Waist: 29"
  • Hip: 37.5"
  • Height: 5' 0"

Fabric:

Double gauze from Joann.

Adjustments / Construction:

  • See details from my first Ogden cami here: Ogden Cami by True Bias
  • Only change was to shorten the straps by about an inch.

Likes:

See details from my first Ogden cami here: Ogden Cami by True Bias

Next Time:

After sizing down amd shortening the straps, there's still some extra ease such that I think I could size down again, or potentially try a small bust adjustment on size 2.

Rifle Paper Ogden Cami by True Bias

Monday, January 9, 2023
Early on in my garment sewing journey, the stars aligned one weekend and I was home alone basically the entire Saturday. It was glorious, particularly because I resolved to (a) sit down and re-learn how to thread my serger and (b) finally finish the Ogden cami pattern that I had started months prior. Check and check . . . Behold, a completed Ogden cami!


(See more photos at the end of the post.)

Size / View:

I went with a size 4 for this one based on the size chart.

For reference, my measurements are:
  • Bust: 34.5"
  • Waist: 29"
  • Hip: 37.5"
  • Height: 5' 0"

Fabric:

I used Rifle Paper Co's Jardin DeParis fabric in mint rayon challis, which I got from Fabric Bubb.


Adjustments / Construction:

  • I'd never done an understitch before, and so trusty ole YouTube helped me out with this video: How To Sew An Understitch from Professor Pincushion
  • One of the reasons it took me so long to finally tackle and finish this project is because I really wanted to finish the seams by serging, but I was working up the courage to re-learn how to serge after setting my serger aside for a couple of years. After I devoted the time to it, while it's not perfect serging, it was okay. So . . . just do it!
  • Although the original pattern called for understitching around the collars and arms, top stitching works too! See an example here: An Ogden Cami in Birch Organic Chambray by Lucky Lucille
  • Aside from that, the pattern length worked for me (5'0") despite being originally drafted for someone 5'5" and a C cup.

Likes:

  • It was the first time I'd sewn with rayon challis and I liked it. The drape - swoon! But also, the wrinkles - bah! In any case, I couldn't wait to wear it the next day, and wear it I did!

Next Time:

  • Early on, I wasn't in the habit of investing time in muslins. With this first Ogden cami, I made a note to try a size down, since I feel like it's a tad loose for my frame (though not enough to deter me from wearing it, since flowy is certainly "in" right now).
  • Side note - here's a helpful article on muslins if you are so inclined to make them: Do You Really Need to Make a Muslin?

Agave Shorts by Desert & Sea Studio

Monday, January 2, 2023

I was a pattern tester for the Agave shorts pattern by Desert and Sea Studio, and here is my finished test version!


(See more photos at the end of the post.)

Size / View:

I waffled between a size 8 and 10, but ultimately did a straight size 10.

For reference, my measurements are:
  • Bust: 34.5"
  • Waist: 29"
  • Hip: 37.5"
  • Height: 5' 0"

Fabric:

I used a linen blend from SAS Fabrics and buttons from Joann.

Adjustments / Construction:

  • There were elements of this pattern that stretched my skills because I hadn't done them before, like using my sewing machine to do buttonholes and buttons. It was easier than I had built up in my mind, with some watching of YouTube, asking questions of Julie of Desert and Sea Studio, and practice.

  • I shortened the hem an additional 1.5", both because of preference and the shorter length suited my height (5') better.
  • Since I shortened the hem, I also re-spaced the buttons at the sides. I didn't move the button on the waist, but the remaining buttons, I used a Simflex to help evenly space them, ending at 2" above the shortened hem.
  • Size 10 ended up being a looser fit on me, so I also moved the buttons in to reduce ease.
  • I made a few other tweaks while sewing my test version, which are captured in my highlights.

Likes:

  • Button detail down the sides
  • Flat front

Next Time:

  • Due to the looser fit of size 10 on me, I may size down next time.
  • Shorten the pattern about 1" to 1.5" (versus shortening the hem at the end) for the shorts version
  • Try the pants version!

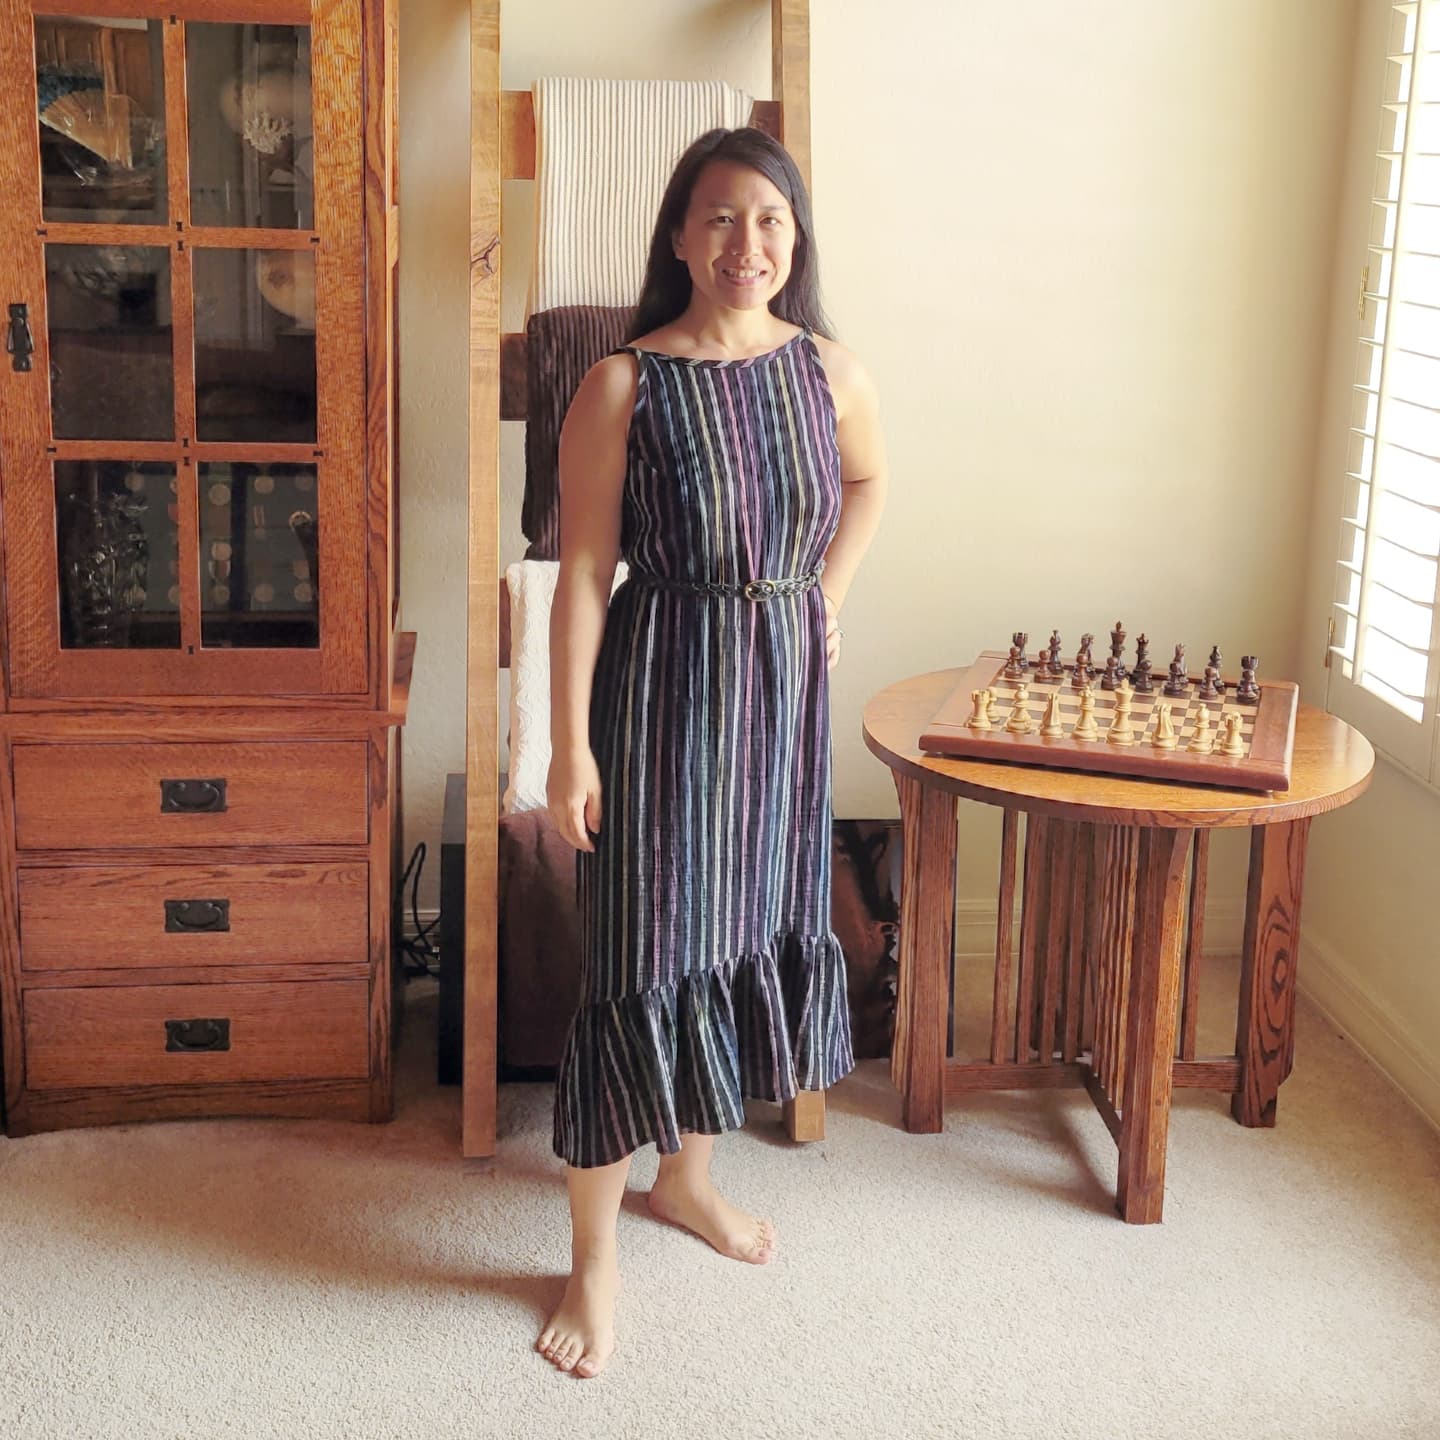
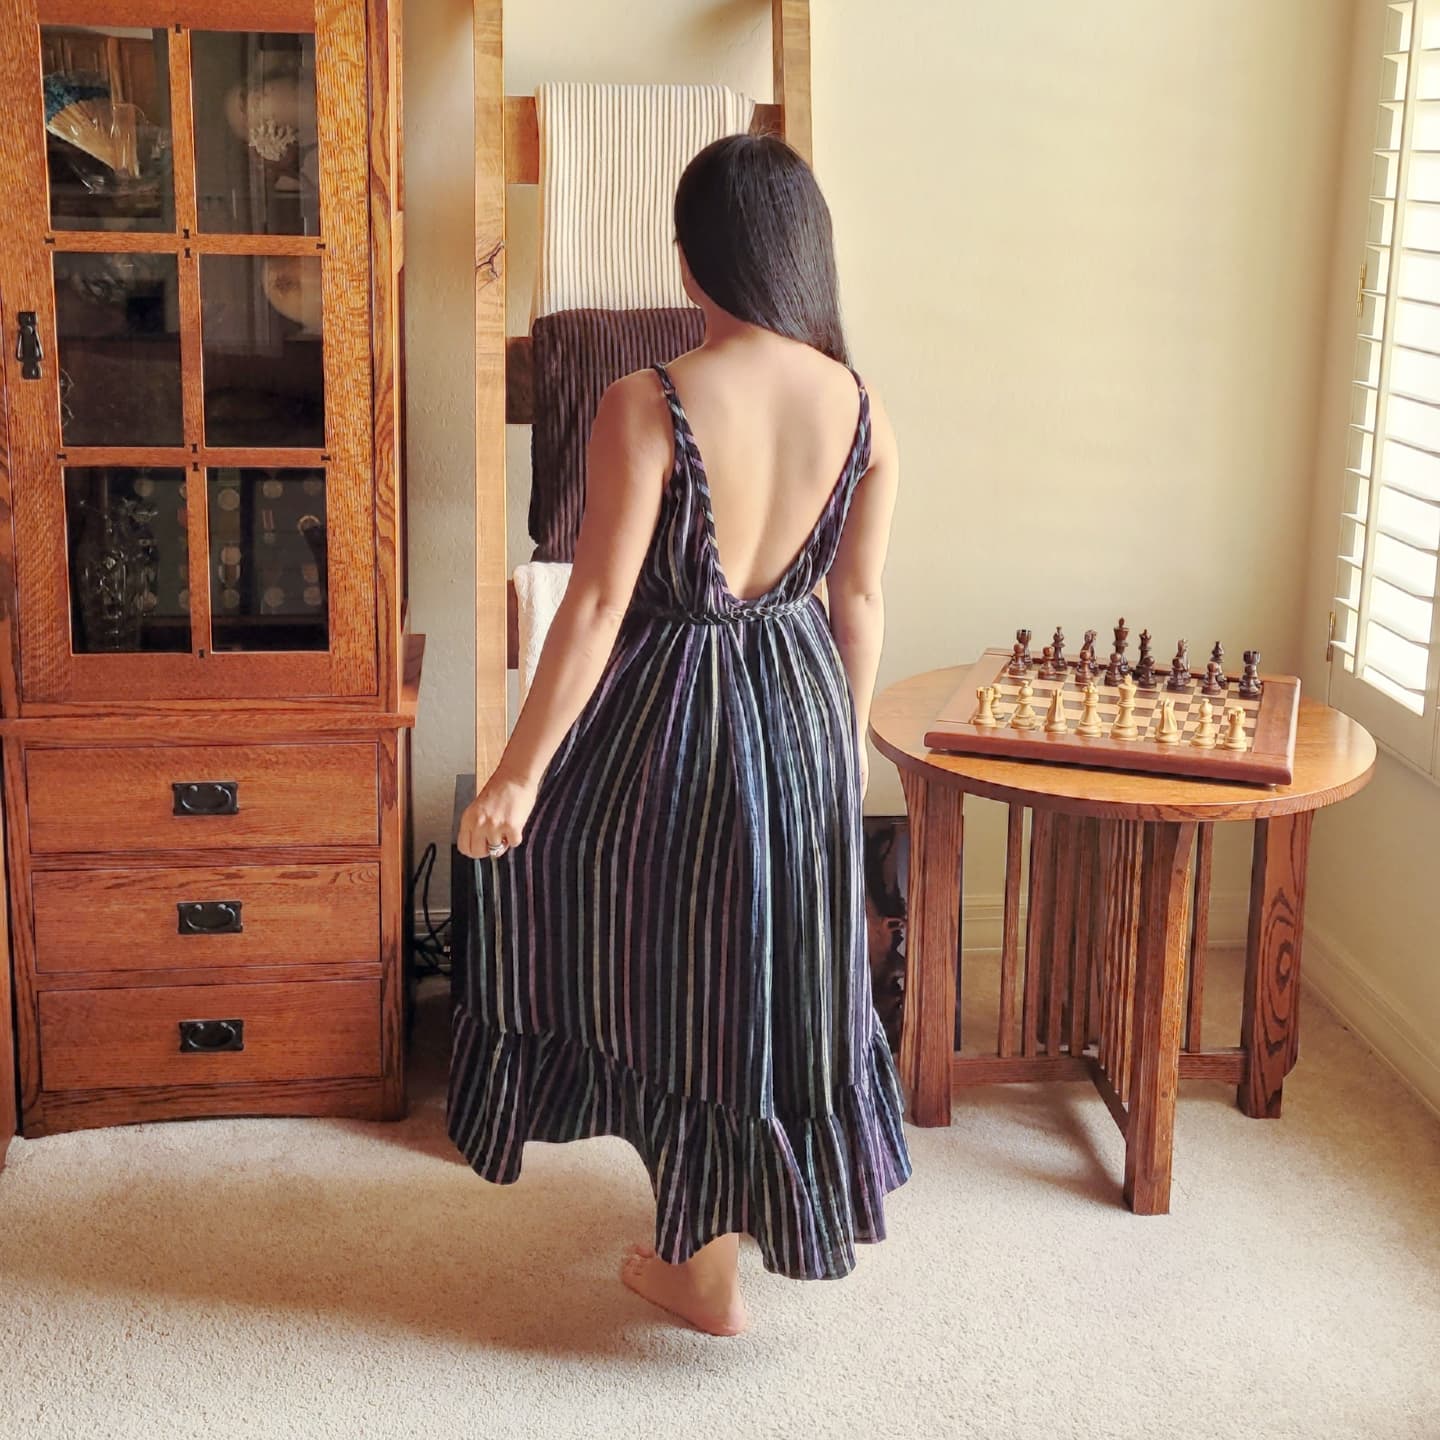
Hallon Dress by Paradise Patterns

Monday, December 19, 2022

I saw this rainbow-on-black double gauze at Joann, and thought it'd be great for the Hallon dress by Paradise Patterns. I wore it out on a 110F+ day (during a week of excessive heat warnings - ouch) and it was nice and airy.


(See more photos at the end of the post.)

Size / View:

View A. My body measurements were closest to a size 4. Since there is so much ease down at the hem though, I graded from a size 4 bust to a size 0 hem.

For reference, my measurements are:
  • Bust: 34.5"
  • High Bust: 32.5"
  • Waist: 29"
  • Hip: 37.5"
  • Height: 5' 0"

Fabric:

Double gauze from Joann.

Adjustments / Construction:

  • Given the ample ease of this pattern, I chose not to do a muslin for this garment. It's like garment sewing chicken?
  • Since I wanted retain the crinkly right-out-of-the-dryer texture of the double gauze, I didn't iron the fabric before I cut and sewed, except for the bias binding around the neck and arms.
  • As drawn on the pattern, the bust darts were a little too pointy on me. I extended the bust darts by about 1" to 1.25" and that seemed to solve the issue for me.
  • The pattern is drafted for someone who is 5' 7", so I had to shorten the pattern by 7" and following the instructions, I took 1/3 of that off the back curve and 2/3 off the bottom of the back piece. I actually rounded down to 2.25" and 4.5" to make it easy. Plus I took the full 7" off the front piece, below the dart and above the hem.
  • I also had to remember to remove the difference from the gathered back curve. For this, I loosely followed the instructions, but also eyeballed what looked good and even tried it on once or twice (pinned/held together) to test out how the back gather looked.
  • The pattern doesn't have an O-ring in the straps like you see in mine - I was trying to add in adjustable straps, then scrapped that plan when I realized the straps weren't long enough for that. I kept the O-rings though.

Likes:

  • Flowy design with low back was good for a hot day.
  • I chose to add a belt when I wore this out to define my waist, and wore it with a pair of wedge sandals.
  • Since I chose to use double gauze, which was already textured, going bra-less was not obvious or a big deal, which I was a little worried about. In a different more smooth fabric, I might have felt differently though!

Next Time:

  • Try View B, perhaps in a satin-like fabric or a rib knit.
  • Add a shelf bra, depending on the fabric choice.
  • Lower the front neckline by 1". Since there is more material in the back, it does weigh the back down a bit and cause the front to ride up. I saw someone mention this online that they compensated for this by lowering the front neckline. (I actually did end up doing this on a subsequent Hallon dress I made for a friend)
  • Instead of serging exposed seams, do French seams. (I also ended up doing this on the Hallon dress I subsequently made for a friend)


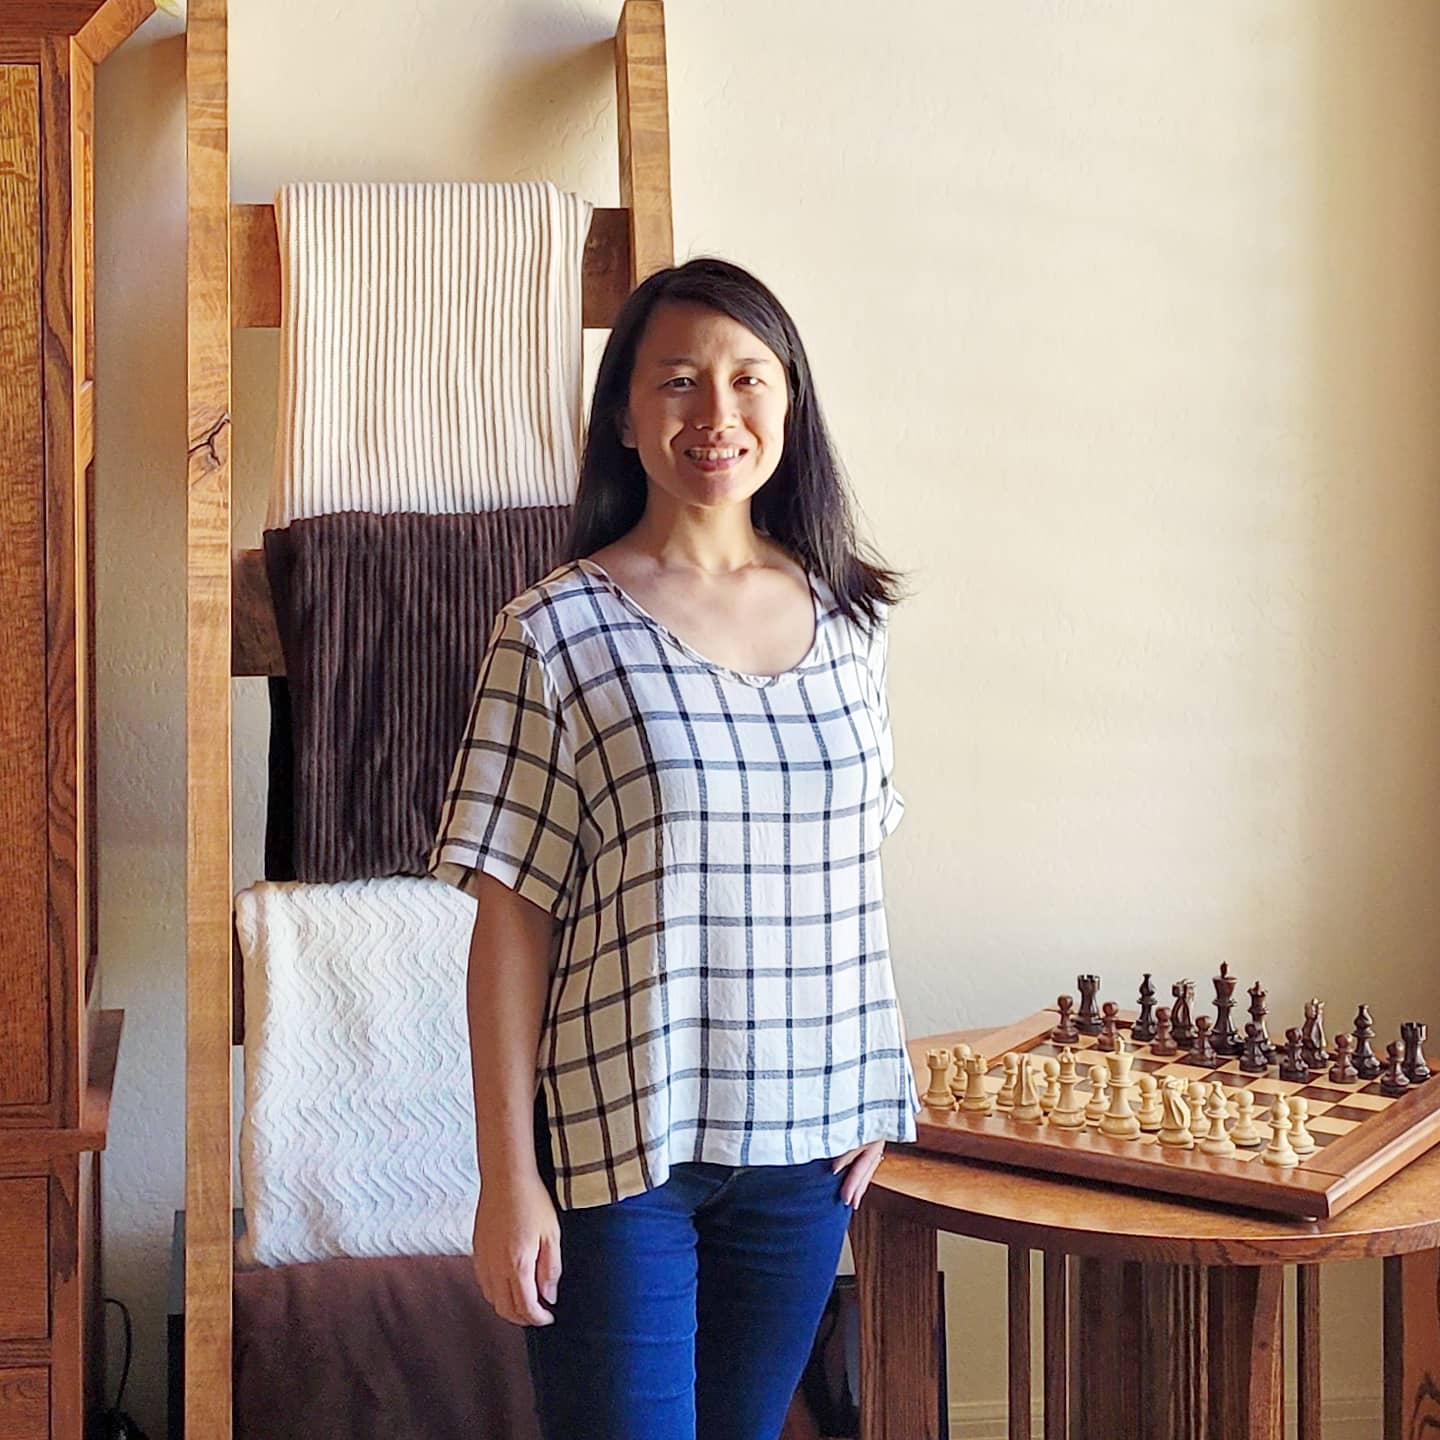
Tide Top by Papercut Patterns

Monday, December 12, 2022

Do you ever sit on a pattern until you find a fabric that feels "right" for that pattern? The Tide top (formerly called Kobe top) from Papercut Patterns was one of the earlier PDF patterns that I bought, but I only sewed it up after I found this window pane rayon crepe from Lyrical Fabrics.

While I like the style of the top, I have noticed that since the back is longer (and therefore heavier), it tends to drag towards the back and requires periodic re-adjustment throughout the day.


(See more photos at the end of the post.)

Size / View:

XXS. Based off the body measurements, I should have been an XS. I sized down after researching others who have made the top and seeing their commentary that the top has a lot of ease.

My measurements are:
  • Bust: 34.5"
  • High Bust: 32.5"
  • Waist: 29"
  • Hip: 37.5"
  • Height: 5' 0"

Fabric:

Rayon crepe from Lyrical Fabrics

Adjustments / Construction:

  • Added 1.5" to the front. 
  • Shortened the back by 2".
  • Shortened sleeves by 1".
  • Referenced the tutorial on the Papercut blog 
  • Added a little hidden stitching between layers to keep the shoulder seam laying flat towards the back.
  • Based on a muslin, the front shoulders were a little too wide for the finished pleated back piece, so I had to narrow the front neckline by about 0.5" and re-draw the neckline to blend into the existing center front.

Likes:

  • Back pleat detail, of course!
  • Slouchy loose fit

Next Time:

  • Given the ease, even for the XXS, I may try to grade this down to a smaller size myself.
  • Maybe shorten the sleeves by another 1" since I'm short
  • I might try the dress view with a sheer fabric, like the sample modeled on the old version of the PDF pattern.

Allspice Apron by Hey June Handmade

Monday, December 5, 2022

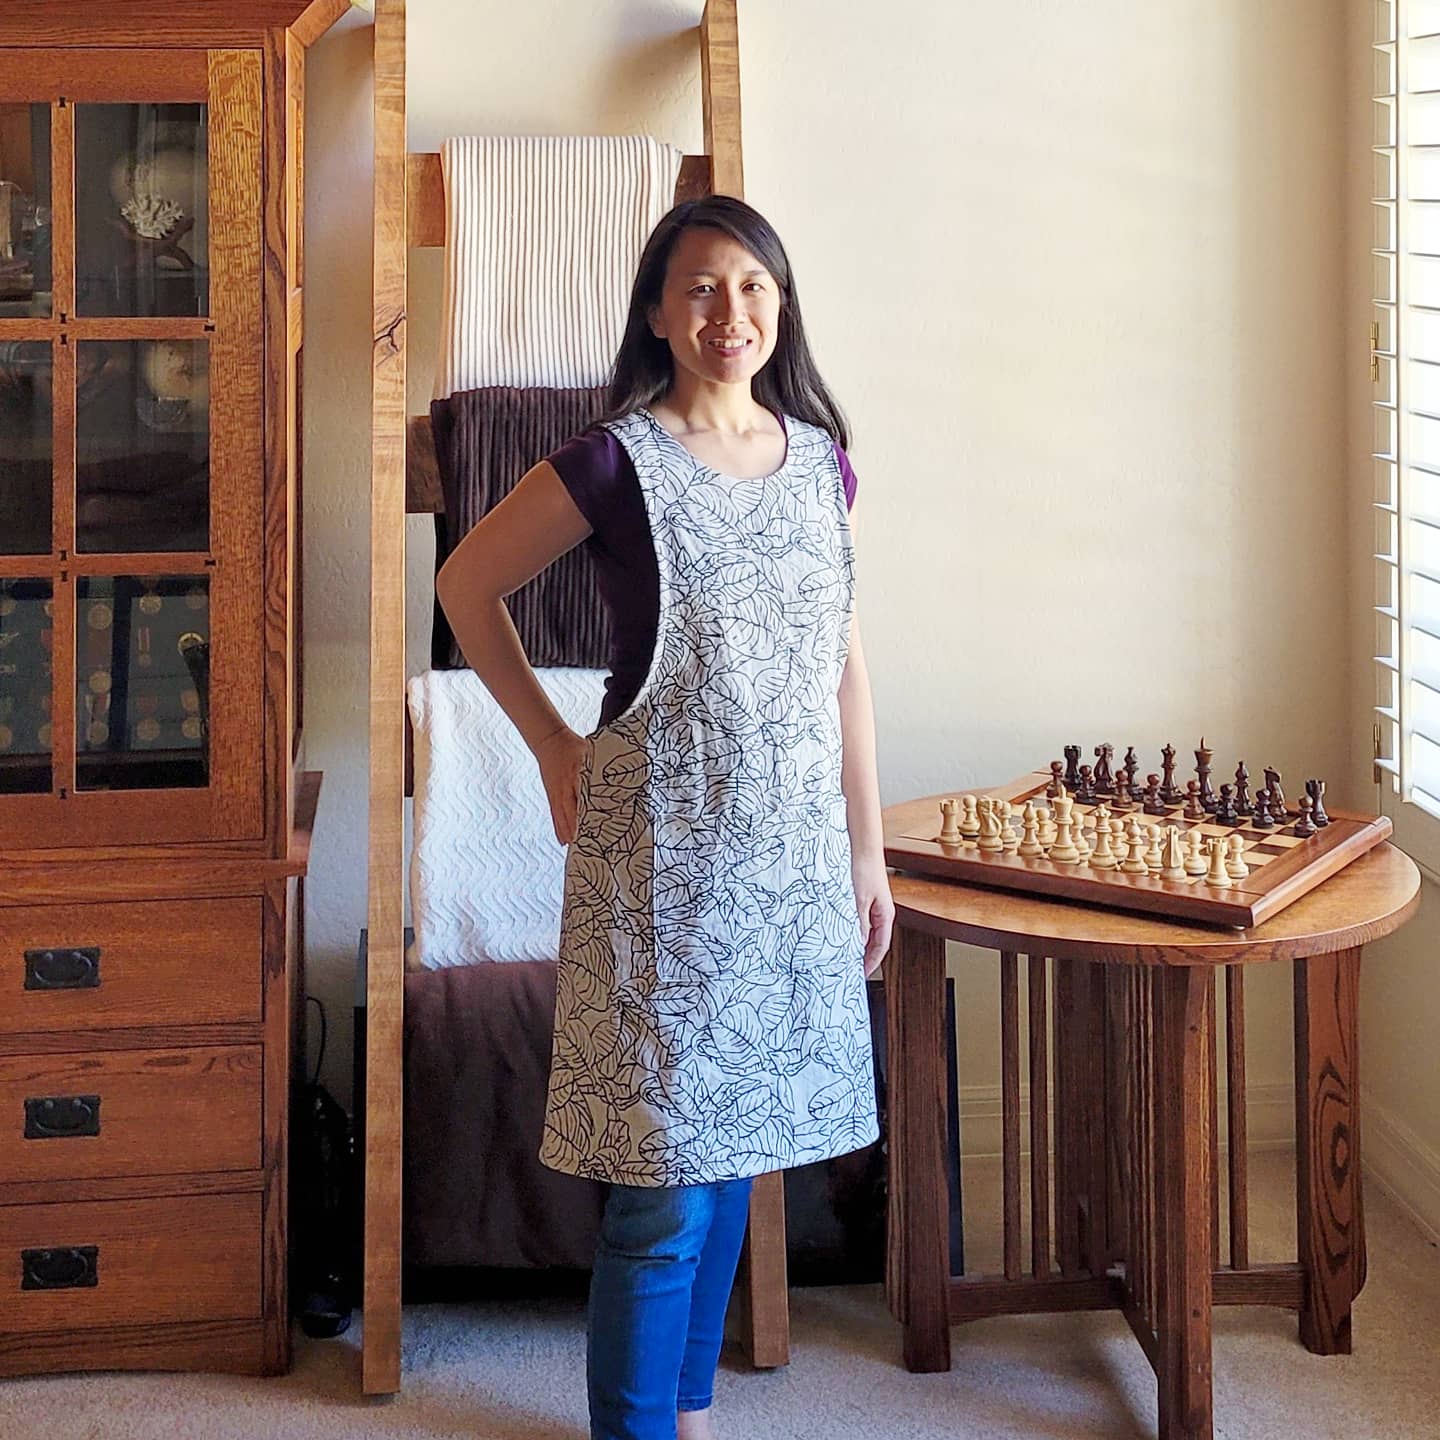
I'd been wanting to make this style of apron for a while - this is the Allspice apron by Hey June Handmade (free pattern!). I found it after listening to older episodes of the Love to Sew podcast that I never got to when life got busy, and one of the guests was Adrianna from Hey June Handmade.

Fun(ny) fact: On days that I wear my handmade clothes, I'm more likely to put on an apron while eating so that I don't accidentally get my me-made clothes dirty. It's happened before with salad dressing splatter, haha!


(See more photos at the end of the post.)

Size / View:

Small. For reference, my measurements are hip 37.5" / height 5'.

For reference, my measurements are:
  • Bust: 34.5"
  • High Bust: 32.5"
  • Waist: 29"
  • Hip: 37.5"
  • Height: 5' 0"

Fabric:

Linen fabric from Joann. I bought enough for a matching apron for my daughter. Technically she's supposed to make it herself . . . But who wants to bet I get impatient and make it for her? I think she's not-so-secretly hoping for that too.

Adjustments / Construction:

  • Shortened the straps by 1" and the hem by 2" since the apron was drafted for someone taller
  • Raised the pocket position by 1"
  • Instead of using a 3/8" seam allowance to attach the bias binding, I used 1/4" so that I could skip grading seam allowance. I didn't reduce the width of the binding though, so next time I'll try that so there's less excess when I fold the bias tape over to stitch down.

Likes:


Next Time:

  • Not much change, except to reduce the binding width by just a bit, if I sew with a 1/4" seam allowance again.

Ashton Top Tulip Back Hack by Helen's Closet

Monday, November 28, 2022

(See more photos at the end of the post.)

Size / View:

Size 0, longer View A. Technically my body measurements put me in size 6 going off of high and full bust, but since I was using a stretchy fabric, I sized down. The tulip back hack also helps with the ease. I did a muslin of size 0 before I cut my actual fabric though!

For reference, my measurements are:
  • Bust: 34.5"
  • High Bust: 32.5"
  • Waist: 29"
  • Hip: 37.5"
  • Height: 5' 0"

Fabric:

Fabric is (I think) a stretchy rayon gauze from Joann, which started as white and I dyed with avocado pits at a workshop a couple of years ago.

Adjustments / Construction:

  • I ironed the fabric before cutting and sewing. That pretty much means I have to keep doing that going forward after washing and drying for it to look the same as fresh off the machine. In retrospect, maybe I should've left it crinkled out of the dryer.
  • No actual adjustments to the pattern.

Likes:

  • Drape of the fabric
  • Avocado dyed color (though a little uneven)
  • Tulip back

Next Time:

  • Try one of the sleeve options from the expansion pack.
  • Try a non-stretchy woven like linen, though I'd probably need to size up and re-muslin.
  • Use a heavier fabric that doesn't require a cami or lining under it.

Summer Day Top by Made Everyday

Monday, November 21, 2022

Tucked or untucked? I always wear this untucked, but tucked looks pretty good too!

Back when I made this Summer Day top from MADE Everyday, I started AND finished this top in a weekend, which usually doesn't happen!

(See more photos at the end of the post.)

Size / View:

Size 2, cap sleeve version. For reference, my measurements are:
  • Bust: 34.5"
  • High bust: 32.5"
  • Waist: 29"
  • Hip: 37.5"
  • Height: 5' 0"

Fabric:

Linen fabric from Joann.

Adjustments / Construction:

  • No adjustments to the pattern itself, though I did deviate from certain steps of the construction (read on below).
  • I finished my seams using French seams. Since the seam allowance was 3/8", this was easy to do by first sewing a 1/8" allowance with the wrong sides together, then sewing a 1/4" allowance with the right sides together. This actually made the construction really similar to the Wiksten tank.
  • For the staystiching, I sewed symmetrically starting from shoulder to either the center or the bottom of the armscye, to avoid potential wonky stretching. (Tip from sewing the Ogden cami!)
  • I ironed the curves into the bias binding before sewing it on (tip from Winmichele!), particularly with the neckline. The sleeves are a little tricky regardless, but ironing along the way really seemed to help keep things in the right place as I was sewing, more than just pinning alone.

Likes:

  • Good beginner garment sewing project
  • Quick sew
  • The boxier fit of the linen


Next Time:

  • Try a fabric with more drape (e.g. rayon)
  • Try the sleeves and/or peplum version
  • Go down a size, at least in the waist/hip area. I would likely muslin this before cutting into fabric
  • Pay more attention to lining up the pattern and fabric

Wiksten Tank

Monday, November 14, 2022
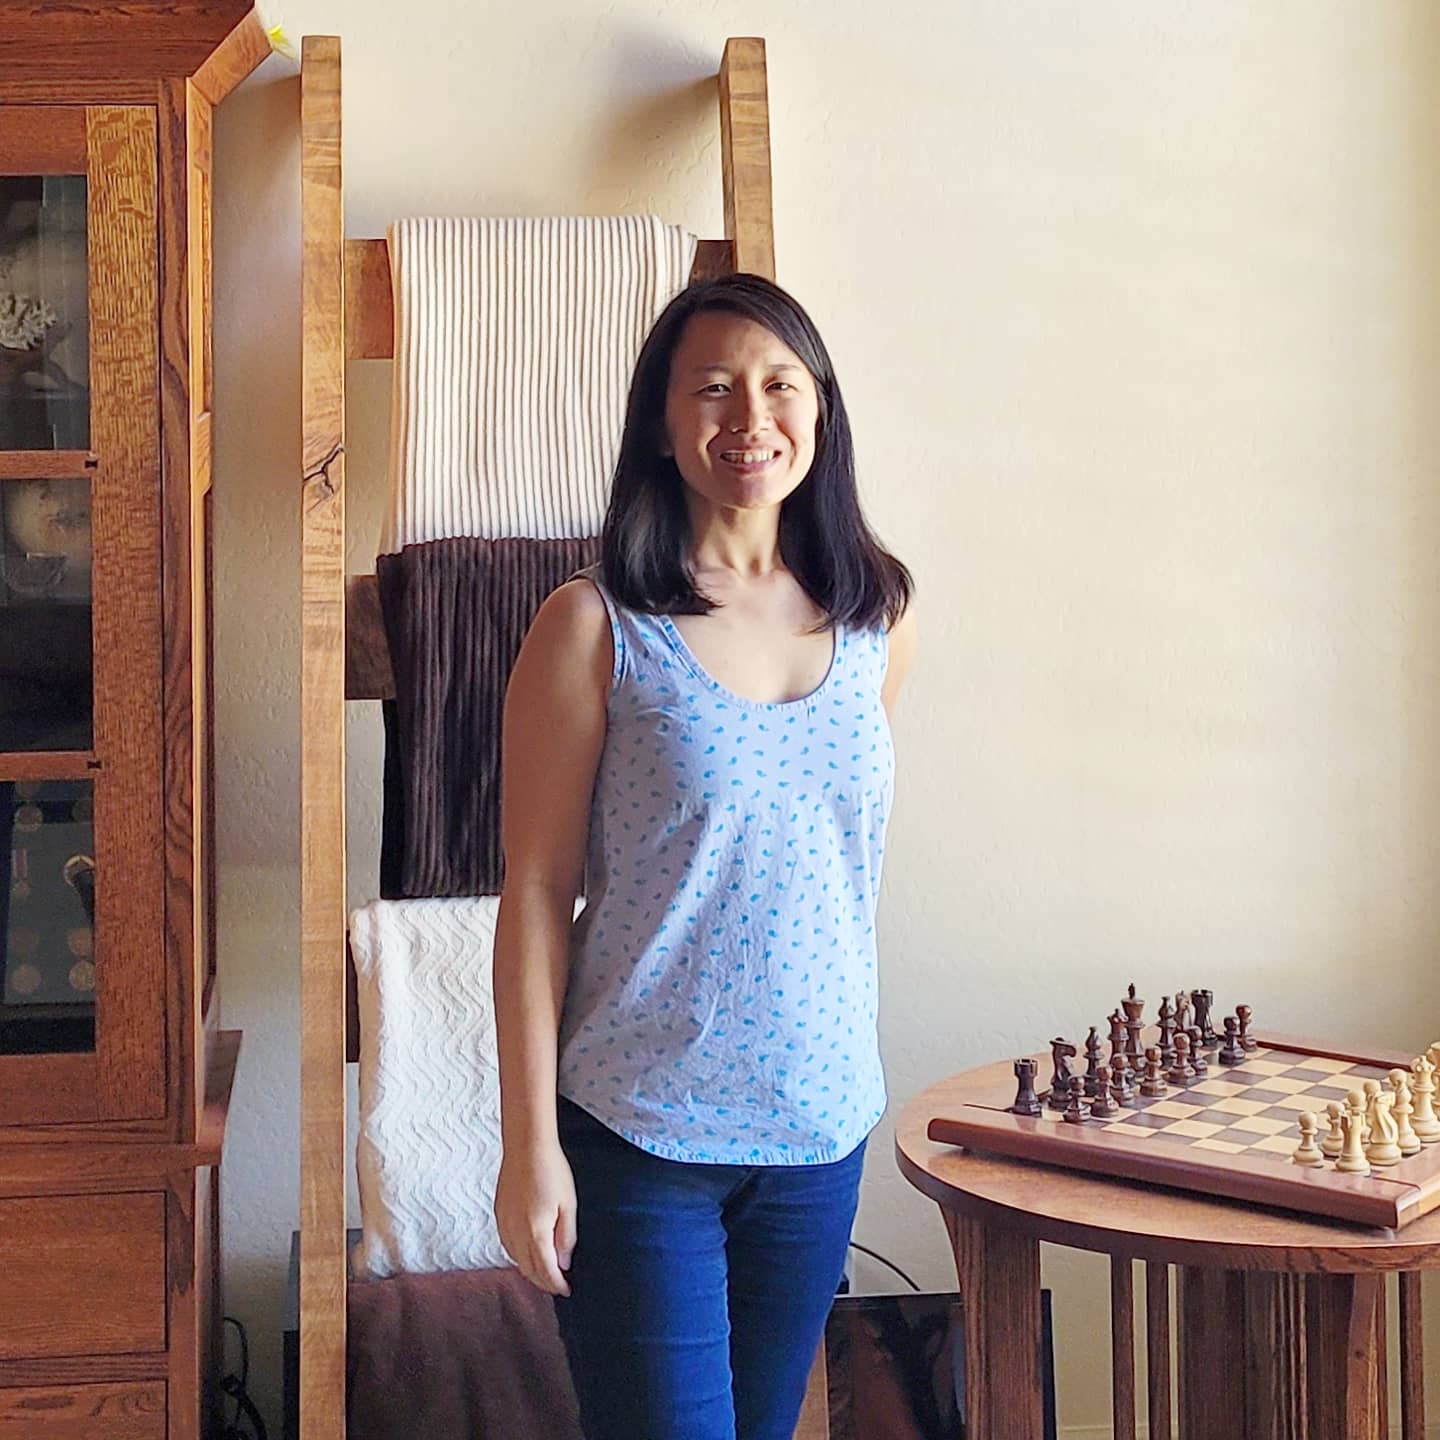
I made this Wiksten Tank a few years ago, which was one of my earliest forays into me-made apparel.


(See more photos at the end of the post.)

Size / View:

XS. Technically I fall into S based on the bust measurement, but there's also a lot of ease in the pattern, so I sized down. 

For reference, my measurements are:
  • Bust: 34.5"
  • High Bust: 32.5"
  • Waist: 29"
  • Hip: 37.5"
  • Height: 5' 0"

Fabric:

Whale print chambray from Joann.

Side story - I had gone to Joann one Saturday with two young kids in tow, and I didn't stop to shop for very long, though I had spotted this whale print on the shelf. I couldn't get it out of my head though, so I went back later that night with the whole family to get this fabric!

Adjustments / Construction:

  • None. I followed the pattern as written.
  • Sewing around curves was a little tricky and there are a few spots where it's not perfect, but I'm sure I'm the only one that notices. I don't think I was ironing down as I was pinning the curves, so I would try to do that better next time even though it takes more time.
  • This was the first time I finished a neckline with hidden binding and looking back on it, I could have done a better job ensuring that the underside doesn't show. Again, this is probably something that I only notice because I sewed the garment, particularly since I used the same fabric for the binding.

Likes:

  • Easy to sew for beginners
  • No serger required since the inside is finished with French seams 

Next Time:

Subsequent to this whale print chambray version, I made a dress version out of gray suiting fabric (also from Joann) that I wore to the office a few times, with a skinny belt cinching the waste and a cardigan. It was okay, but I don't love it. I'm thinking of using the fabric to make something else all together. 

In this second version though, I made a couple of adjustments that I would do if I sew this pattern again:
Next time, I might also try out a fabric with a little more drape, such as a rayon challis.


Ruffle Sleeve Top by In the Folds

Monday, November 7, 2022

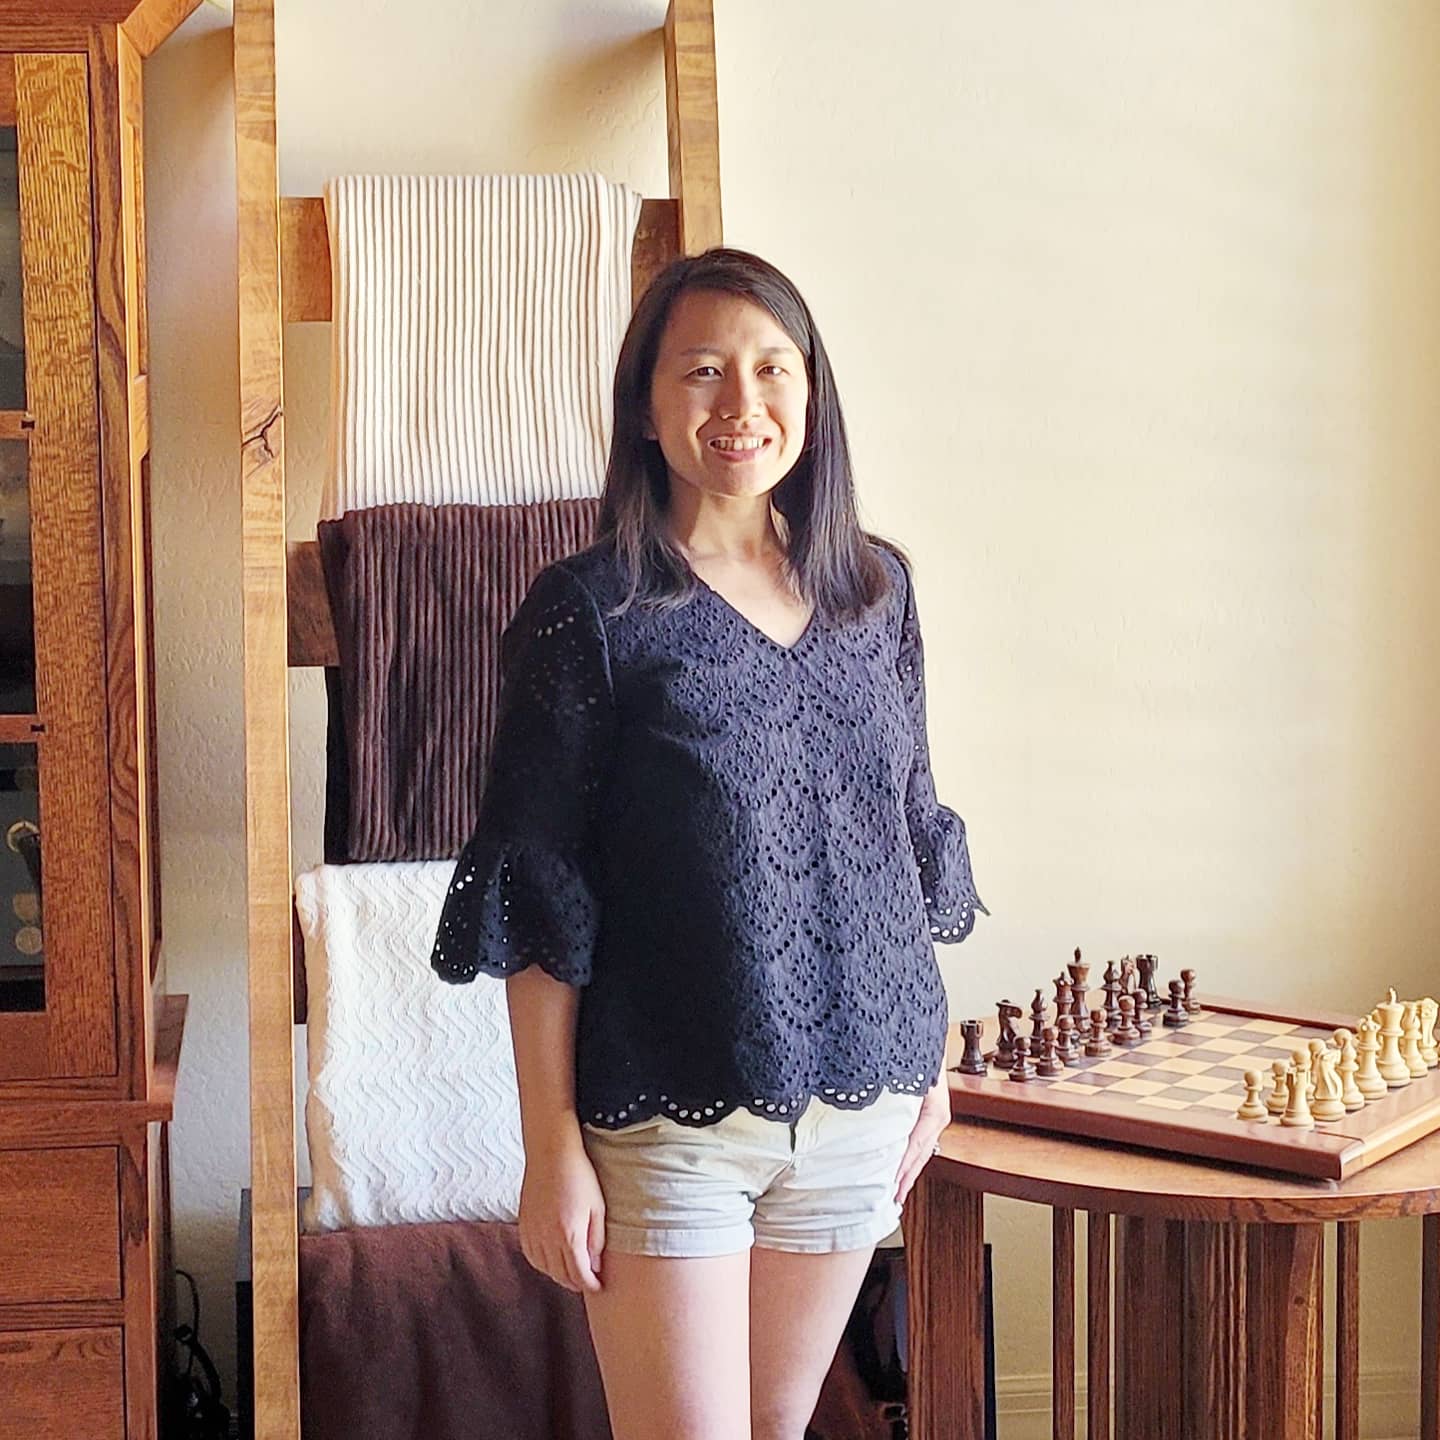
I'd spent a couple of years working up the courage to make this ruffle sleeve top by In the Folds for Peppermint Magazine. I had even bought the eyelet fabric and sat on it for a good while. I finally tackled this December 2020 over the holidays and I was happy with the result!

(See more photos at the end of the post.)

Size / View:

I made a size C at the bust, graded down to a size B in the hips. I first cut a size B and did a muslin and decided I needed the ease that came with a size C for the high bust area to more easily slip the top on and off.
My measurements are:
  • Bust: 34.5"
  • High Bust: 32.5"
  • Waist: 29"
  • Hip: 37.5"
  • Height: 5' 0"

Fabric:

Scalloped edge eyelet (outside) and cotton solid (lining) from Joann.

Adjustments / Construction:

  • The eyelet fabric already had a scalloped edge that I used for the bottom hem and the sleeve hems, so I eliminated the seam allowance for those places.
  • For the ruffle sleeve, I also shortened the length by an extra 0.5".
  • I did a fully lined solid layer since I used eyelet fabric for the outer layer. I wasn't sure how to do this at first and In the Folds clarified how - use the front and back pieces to cut out the lining layers. I also shortened the lining by another 0.5" or 0.75".

Likes:

  • No exposed seams
  • I'm pleased that I'm comfortable enough with my skill level to make the adjustments I did!

Next Time:

  • I may try to grade the hips to an even smaller size for a closer fit, assuming it doesn't impact my ability to slip the top over my head. One other option I may try once I'm more comfortable with zippers is installing a zipper down the side. I have a ready-to-wear top that has something like this and it helps with a closer fit.
  • If I made this again, I most likely would not use the cropped lining that comes with the pattern and instead do a fully lined layer still.